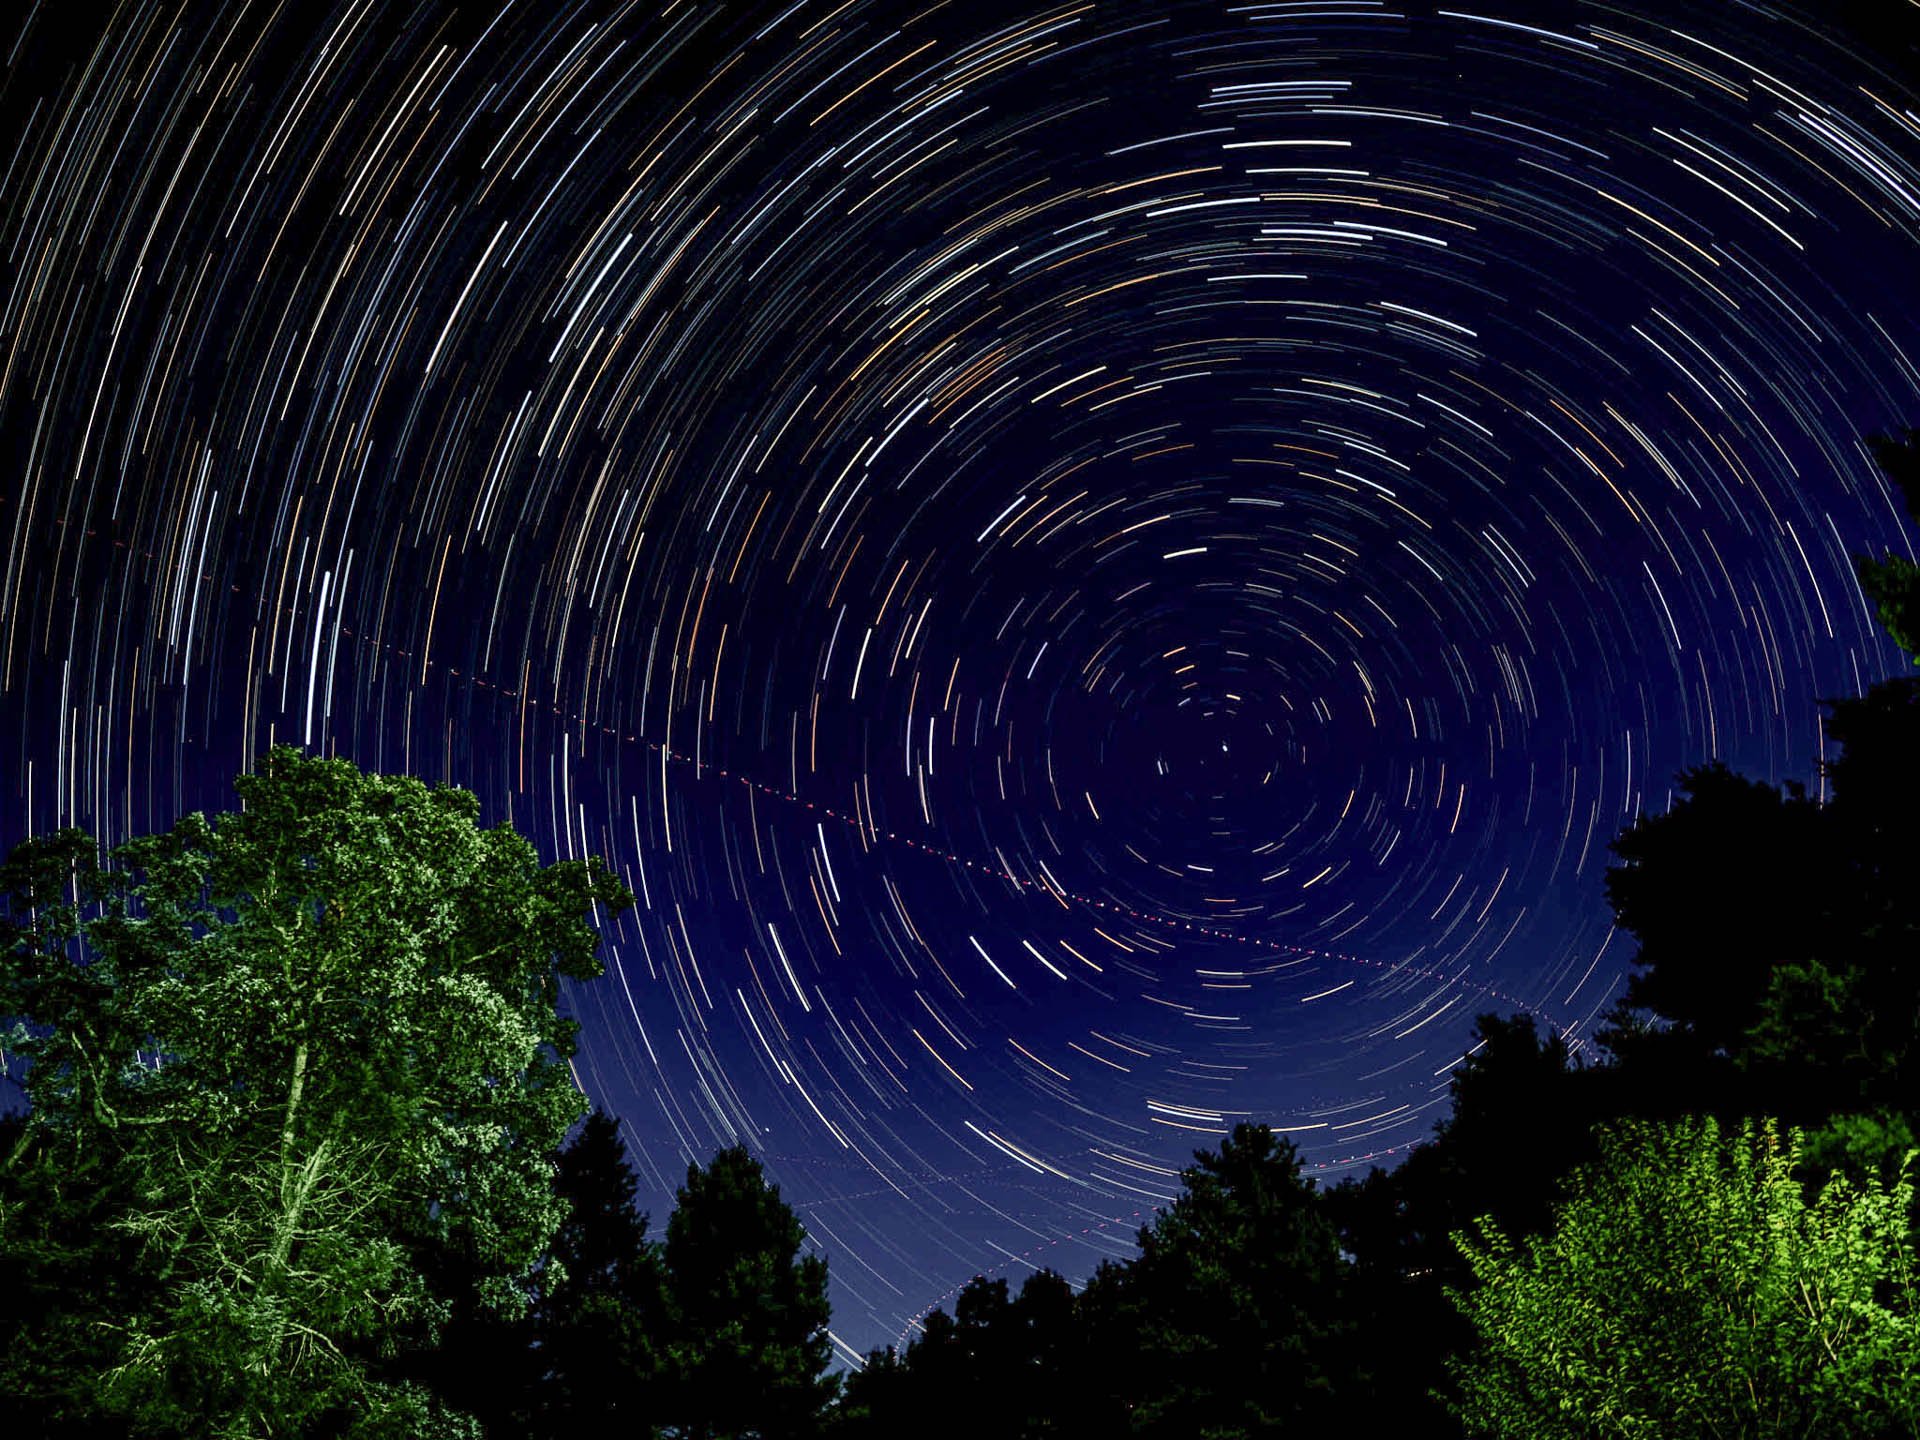
Star Trails (Northern Hemisphere)
What are star trails? Star trails are the result of taking very long exposures of the stars in the night sky. Because of the earth’s rotation, the stars appear to be moving in the sky. As a result, we can capture these pinpoint stars as streaks of light. Unlike photographing pinpoint stars, where we limit our shutter speed, in star trail images, we ignore that limitation and shoot ultra-long exposures that range from a few minutes to a few hours. The longer you shoot, the longer the trails will be.
To make great images of star trails you need to decide on the type of trail you want to capture. If you want perfect circles then you need to be in a location that gives you visibility to Polaris or the North Star. (Use the big dipper to ascertain its position). However, arcs and curves can be captured from any location.
What do you need? A camera and a fast lens, capability of exposures in Bulb mode, a cable release preferably with a lock, a stable tripod, a bubble level (if your camera does not have an electronic level indicator), and optionally a black card with some black velvet adhered to it. Based on the weather, warm clothing, a place to sit, warm coffee (substitutes to warm the soul), and a flashlight. Star trails can be captured one of two ways. A single long exposure – several minutes to a few hours. Multiple shorter exposures are then stitched together using software.
Choice of focal length depends on where you are (latitude) and your composition. A wide-angle lens will give you shorter star trails for the same duration of exposure while longer focal length lenses will give you longer trails. In any event, try and include a good foreground element in your composition. Dead trees are great, live ones will do, rock formations, old barns, and churches work great as long as they are not lit at night. 35 to 70mm lenses work well. Note that with short trails you are still able to recognize constellations while long trails eliminate recognition.
Choice of aperture should be on the wide side of your lens. Do not use the widest aperture but one to two stops closed when using fast lenses f/1.4 to f/2.8. f/4.0 to f/5.6 work very well. You might ask – why not a smaller aperture f8 or f11 or even f16 since you want a sharp image. There is a fine line here that you must balance. A wide aperture will let more light in than narrow apertures. Your subjects (the stars) register movement because our earth is rotating so you want them to be well exposed. Less light using narrow apertures will lead to very dim trails and some may not even register on your sensor.
When is the best time to photograph star trails? You want to shoot the stars when there is the least amount of light pollution. The moon is a big factor so you want moon phases to be a quarter or less. New moon or crescents may be too dark to provide adequate light for your foreground so you should consider light painting. Also, ensure that you will not get the moon’s passage in your composition. 2 hours after sunset to 2 hours before sunrise will give you adequate darkness.
What are ideal locations? Being close to brightly lit areas, cities, and well-lit streets will cause problems with light pollution. You may want some or none at all – that depends on your choice. A light sky will give you star trails that have reduced contrast. High elevations on a clear night are ideal. If you are capturing near an urban area be aware of flight paths. Planes will ruin your efforts.
What are ideal conditions? High humidity and atmospheric industrial pollutants are to be avoided. Humidity, pollution, and haze can ruin a star trail image. Dry cloudless nights are perfect.
Set up your composition, a good foreground element or elements will not only anchor your image but are far more pleasing than just a night sky. Horizontal and vertical compositions are both good for star trail images.
Shoot your foreground image first as in the image of the ghost above. My preferred time is right after blue hour. This is the time you will obtain a natural transition between the foreground and the sky while maintaining good detail at reasonable IOSs.
Now for the exposure. Set your camera in “bulb” mode and your aperture at f/4 or f/5.6. Set the ISO at 100 or 200 if your camera does not support ISO 100. Make sure your depth of field based on your lens is adequate to give you good focus on your foreground subject. Focus on infinity – you can use the sliver of the moon as your focus point. Switch off all auto-focusing. Recompose and ensure your camera is level (a bubble level and your flashlight will help). Use the electronic shutter if using a mirrorless camera. Mirror lock-up is a must if using a DSLR. If there is a breeze, remove your camera strap to prevent it from flapping and creating movement. Turn off all image stabilization/vibration reduction (lens or camera), For a single long-duration exposure set your camera for long exposure noise reduction. (A point to consider when this feature is used. Many cameras will process what is known as dark frame subtraction for the same amount of time as the duration of the exposure. This will prevent you from capturing the next image immediately following the previous image. So if you plan on multiple exposures for your trail, turn off dark frame subtraction.)
Have some fun. Use your flashlight to light paint the foreground. Use even-paced sweeping strokes. Disconnect the star trail from the star by exposing for about 20 seconds then place your black card with the velvet over but not contacting your lens for a minute and then remove it. If you are shooting tethered to your computer and have aperture control start your exposure for the prior process at a fully open aperture after a 20-second exposure, cover the lens and change your aperture to f5.6 – something different that looks awesome.
Once you have captured your images you will need to stack them as a composite that results in your final star trail image. You can use Photoshop, Starstax, Sequator, or similar applications to post-process your images.Make it stand out.