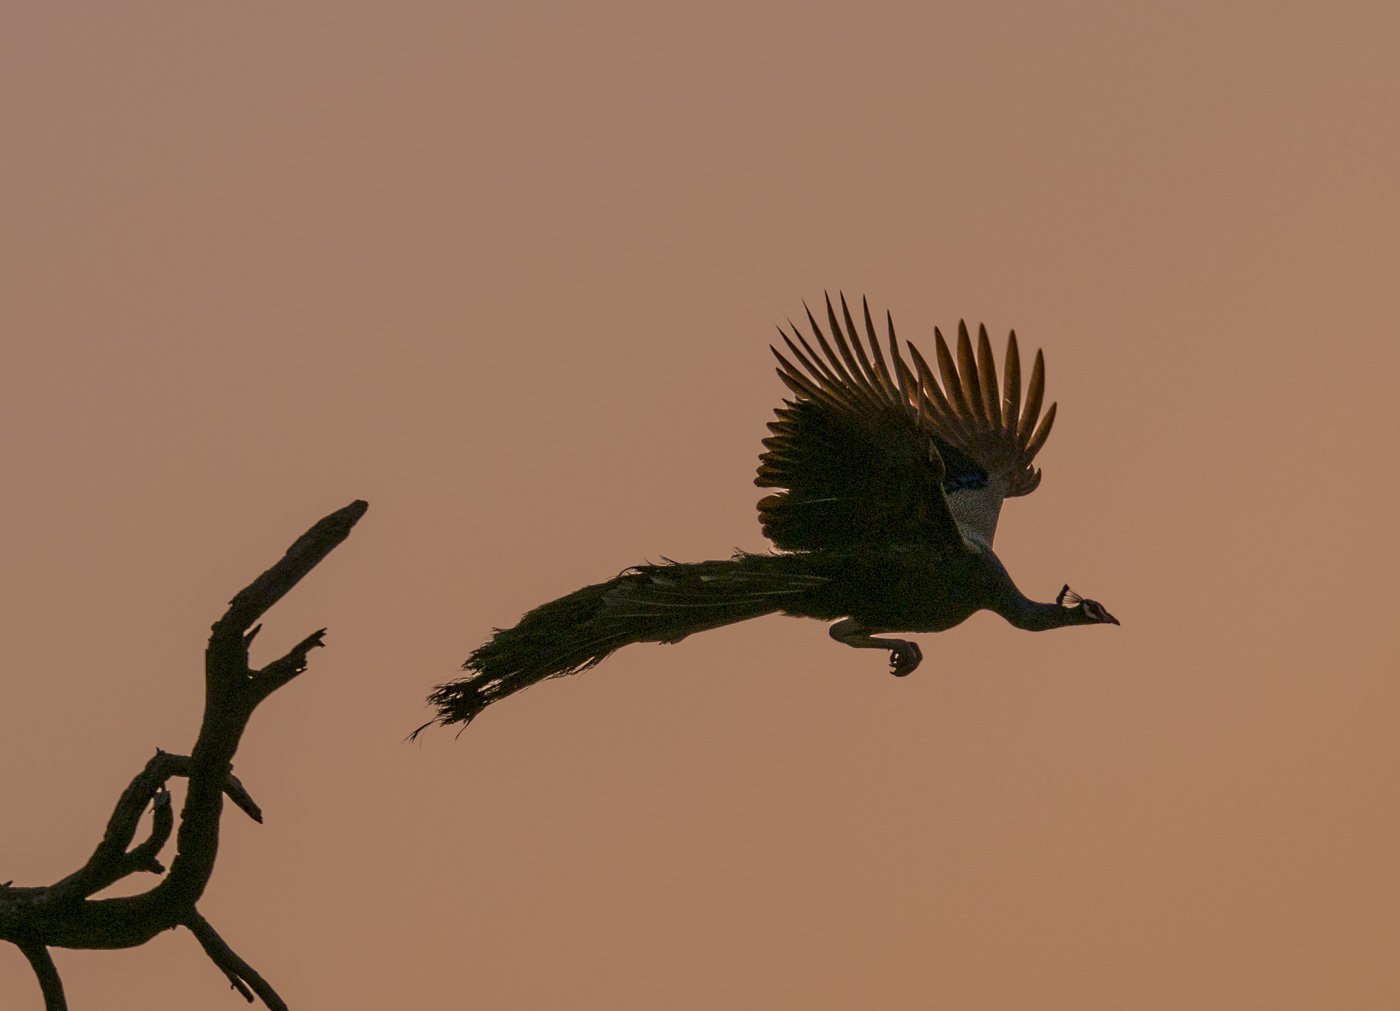
Creating a silhouette
Before you start setting your camera and exposure settings, evaluate the subject matter you plan on creating a silhouette with. For great silhouettes, your subject should be recognizable, simple and pronounced in its shape when looked at in two dimensions. A silhouette is basically a pronounced outline with no detail, dimension or depth. You want all the light behind your subject and minimum to light falling on your subject from in front. You don’t need to have the sun directly behind the subject, it just needs to be in front of you.If you are familiar with shooting in Manual mode then go to step two.
Put your camera in full auto mode. Now either at sunset or sunrise (you want the light to be behind your subject) take an exposure of the bright sun or if there is no sun, then the brightest part of the sky. Now play back this image and note the exposure settings - Aperture, Shutter speed and ISO. Next put your camera in manual mode and dial in these settings.
Skip this step if you used step 1. Set your aperture based on the depth of field you desire. Using your camera spot or counterweighted metering mode get your settings right for the best exposure of the sun or brightest art of the background. (adjusting ISO and shutter speed). Use these settings for the next step.
Place your subject between your camera and the bright background and shoot. Get low so you get a good amount bright sky and the subject is a dark silhouette.
Keep your ISO AS LOW AS POSSIBLE FOR MINIMUM DIGITAL NOISE and use apertures of around f/8 for APSC and Full Frame cameras and f/5.6 for micro four third cameras.I f you want to shoot moving subjects in silhouette you will need to adjust your shutter speed to prevent blur. 1/250 or higher depending on the speed of the movement. Compensate for each shutter speed adjustment by adjusting your ISO.

