Lume Cube Review
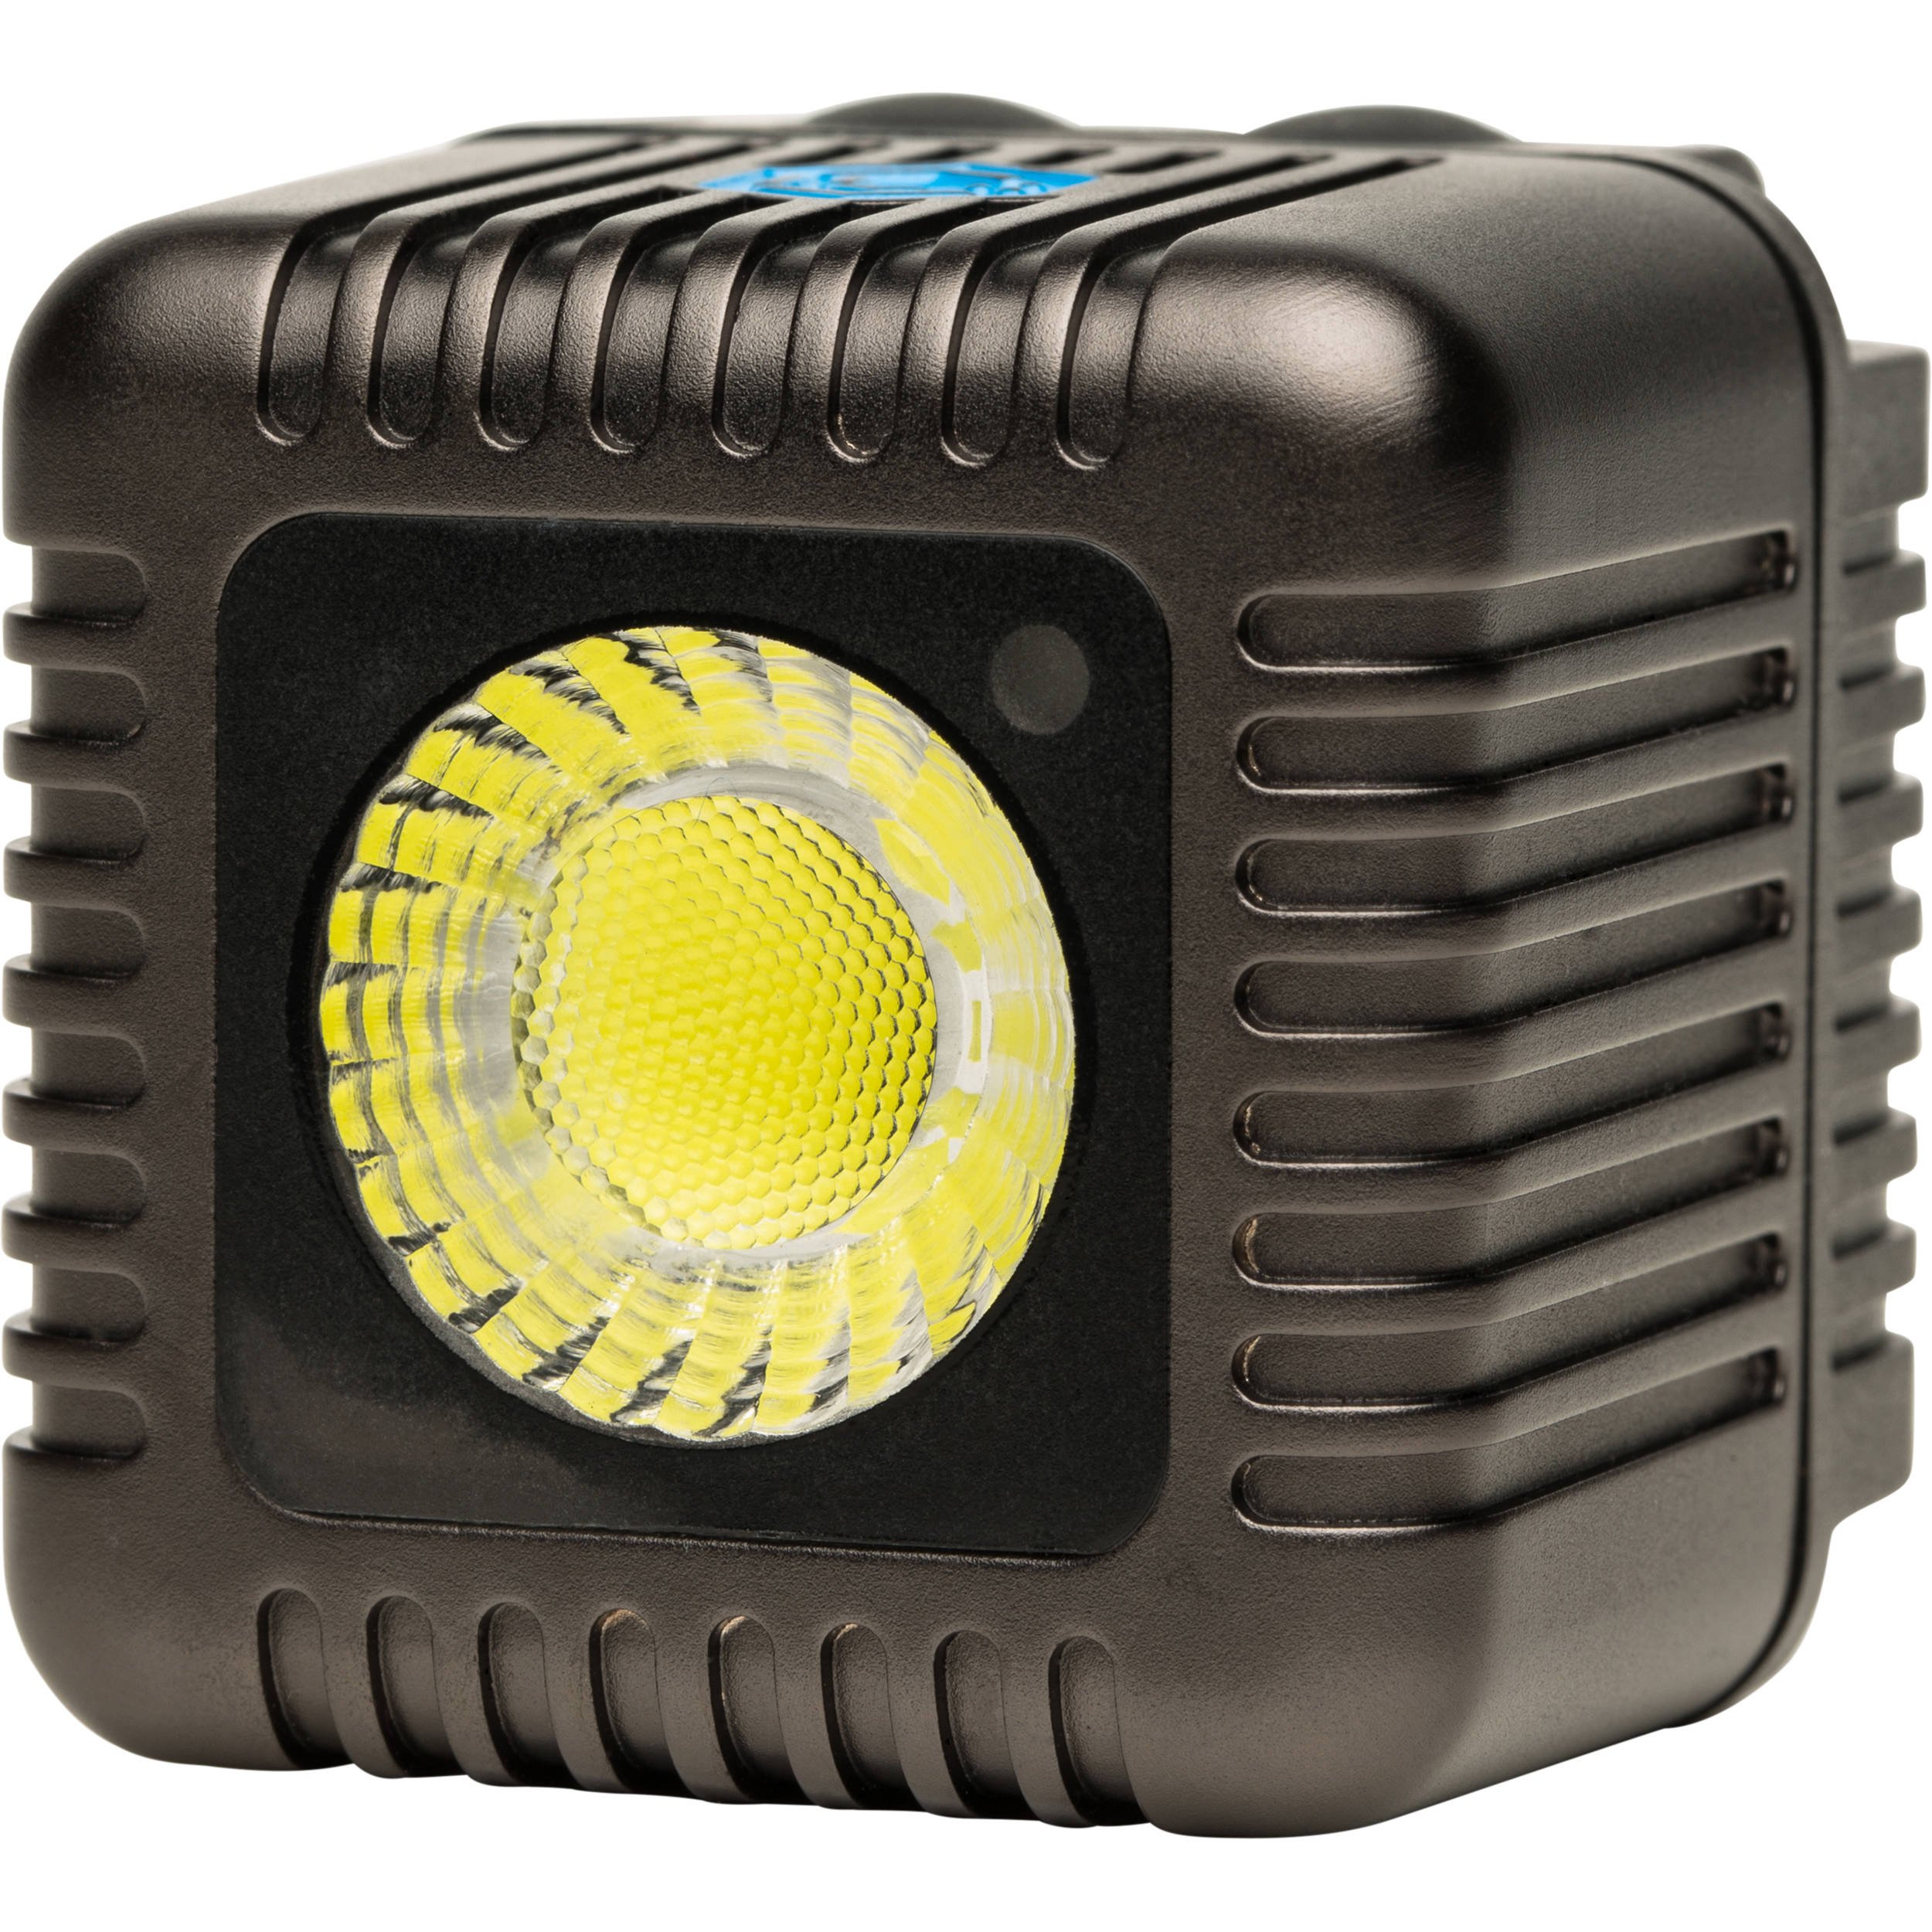 The makers of Lume Cube have a new smaller and less powerful but a highly efficient light designed for phone photography called the Life Lite. This is a smart, Bluetooth controlled, pocket-sized Lifestyle Light for iPhone, Android, DSLR or a GoPro. The Life Light will be available in March.This gadget review however, is of the original Lume Cube and the cheaper version that does not have any bluetooth connectivity. Both are identical in performance and while you can controll one with a smart phone the lite version is all manual. I have been using the Lume Cube for many months and have been most satisfied with its performance and portability. I have used these lights for macro, video and portraiture and love the results they have helped produce.Specs:
- Type LED
- Output Variable: 0 to 1500 Lumens
- Strobe: Variable 1/8000 to 1 second
- Mount Type: 1/4"-20 female
- Power Source: Integrated battery
- Battery Duration: 100% Brightness: 20 minutes; 90% Brightness: 60 minutes; 50% Brightness: 120 minutes
- Power Connector: USB (for charging)
- Waterproof Depth: 100' / 30.5 m
- Dimensions: 1.5 x 1.5 x 1.5"
CLICK HERE TO ORDERThe Lume Cube comes in a small cube shaped cardboard box that contains the Lume Cube and a USB charging cable.You do need to unscrew a small cover to access the charging port. This access cover is a requirement as the Lume Cube is rated to be waterproof to depth of 100 feet.Shaped as a cube, the unit has two rubberized push button switches on the top and a 1/4 20 mount that can be used to mount the light on a light stand, tripod or any flexible light mounting device.The two push buttons control the video light and the alternate flash function of the device. Each time you depress the on/off video switch the light cycles through 10 levels of intensity.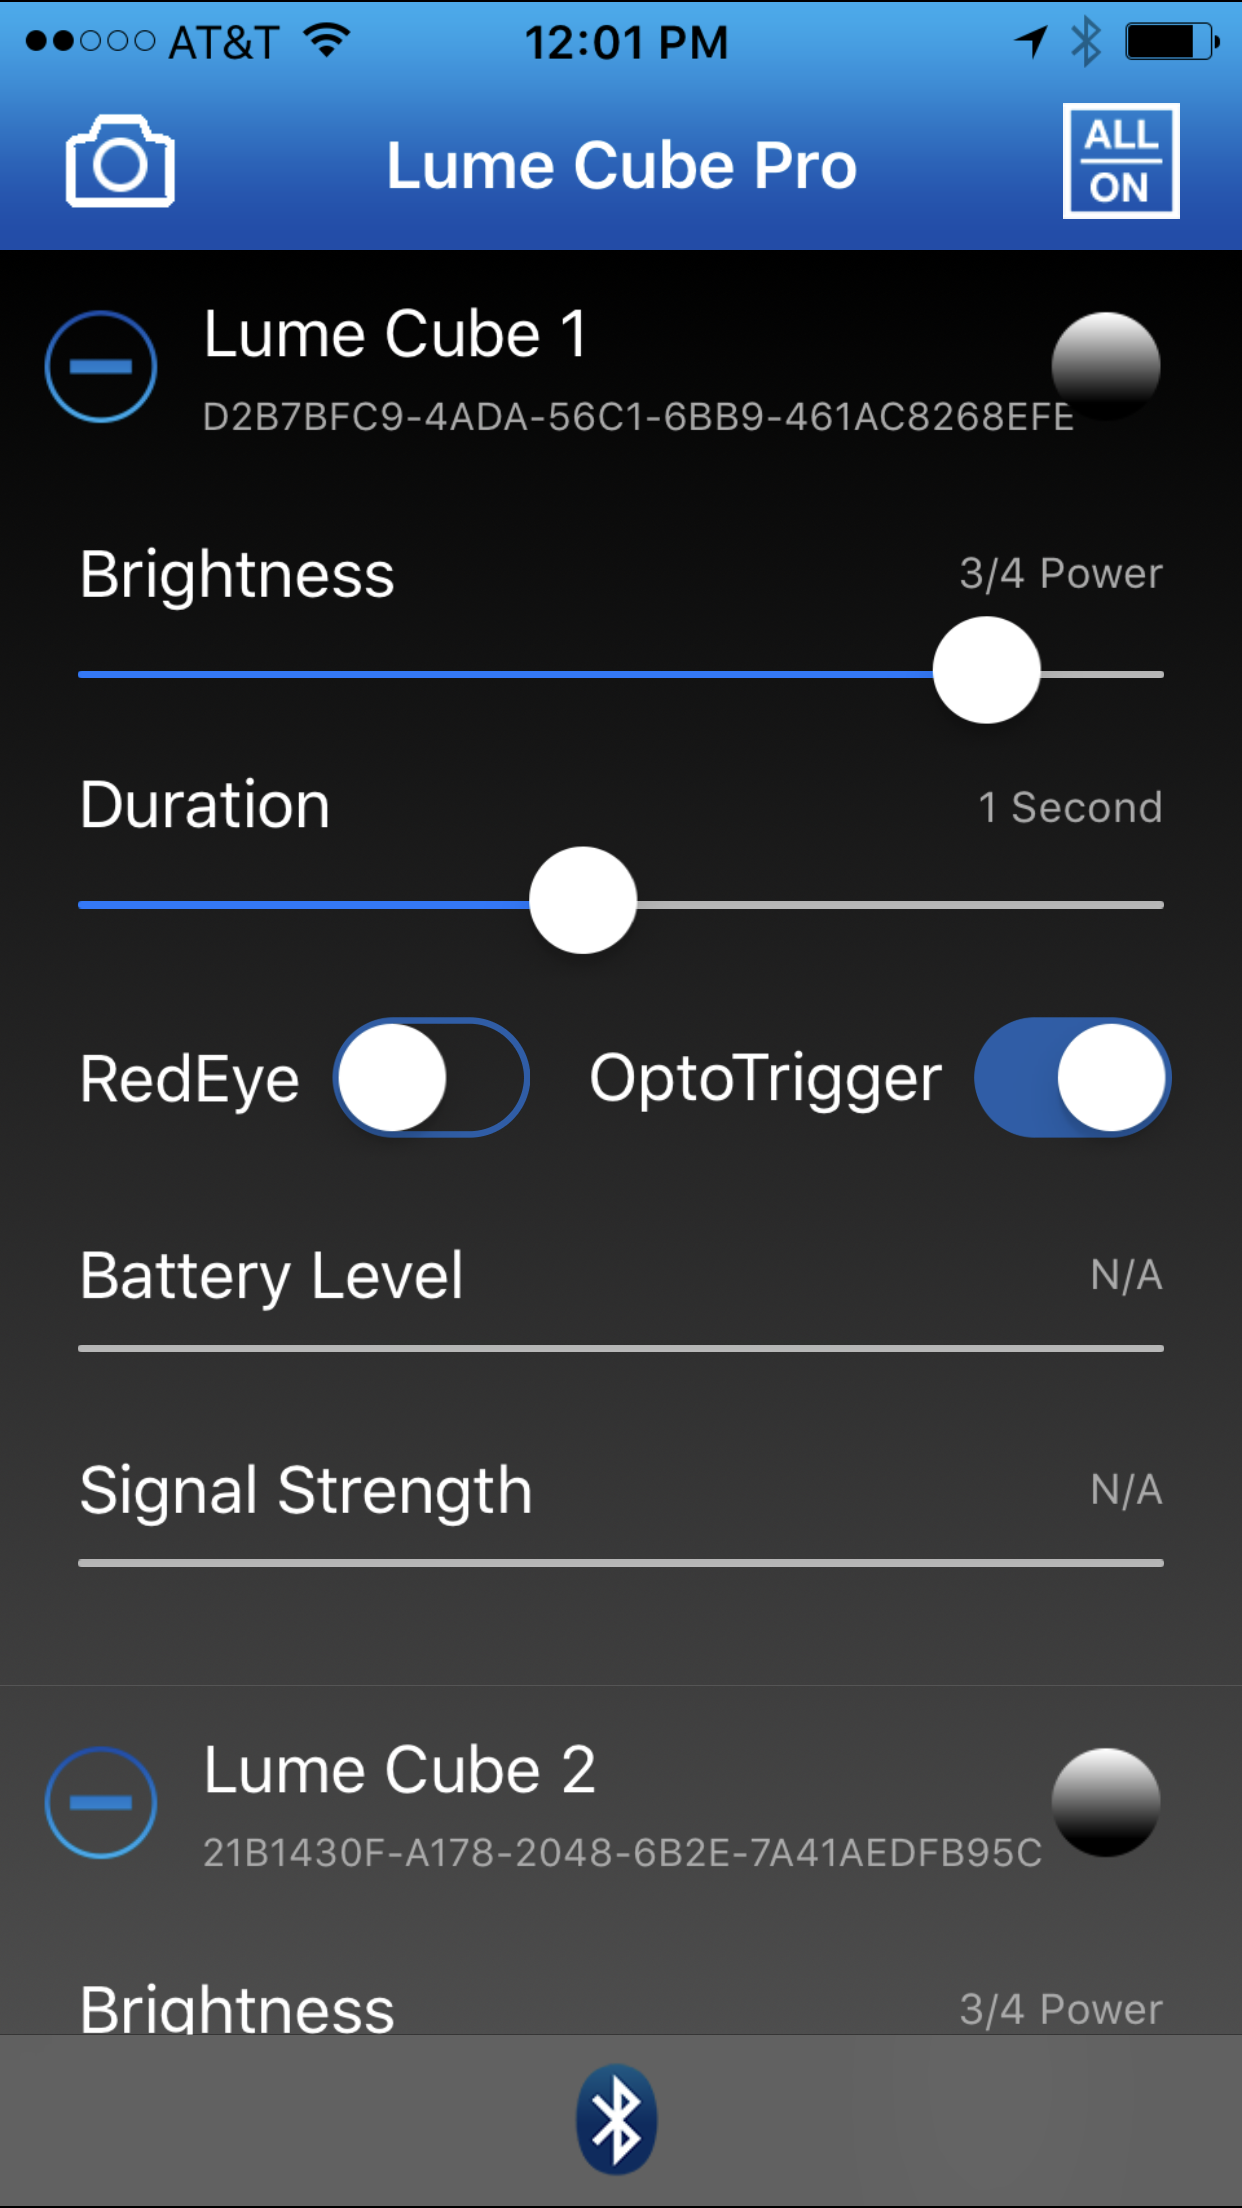 You can also control the Lume Cube using the mobile app. Lume Cube has simplified its lighting controls with a proprietary wireless, Bluetooth-enabled app, available on both Apple iOS and Android. The app is capable of controlling up to 5 Lume Cubes simultaneously. The app allows you to adjust the brightness, flash duration and red eye latency on each Lume Cube independently; and with its onboard optical sensor, Lume Cube can be configured as a slave flash unit to be fired by any other external flash.You have to register your Lume Cube to sync it to your app once registered you can control all your Lume Cube’s power and settings separately.Lume Cube Setup and test for portraitsTo test the Lume Cubes I fitted two Lume Cubes on two separate light stands. The “Main” Lume Cube was place so as to create Rembrandt lighting on the dummy head. The second was place to create a gentle fill. As you can see from the image below, the Lume Cube, due mainly to its size creates a fairly hard light. The settings were ISO 200, f/1.7 at 1/125 sec. using a Panasonic Lumix GX85 body and a Lumix 42.5mm f/1.7 lens wide open. The light emitted is cool and for this test I used an X-Rite Color Checker Passport to balance the temperature.
 The second test was conducted with the same placement of the lights but instead of the Lume Cubes facing the dummy head directly the light was bounced off two Rogue Flash Benders. No Diffusion material was used.As you can see the light was much softer and way more pleasing in the image below. The settings were ISO 640, F/1.7 at 1/80 sec. Clearly there is about 3 stops of light loss when using the Flash Benders. However, the soft light is excellent for portraiture.
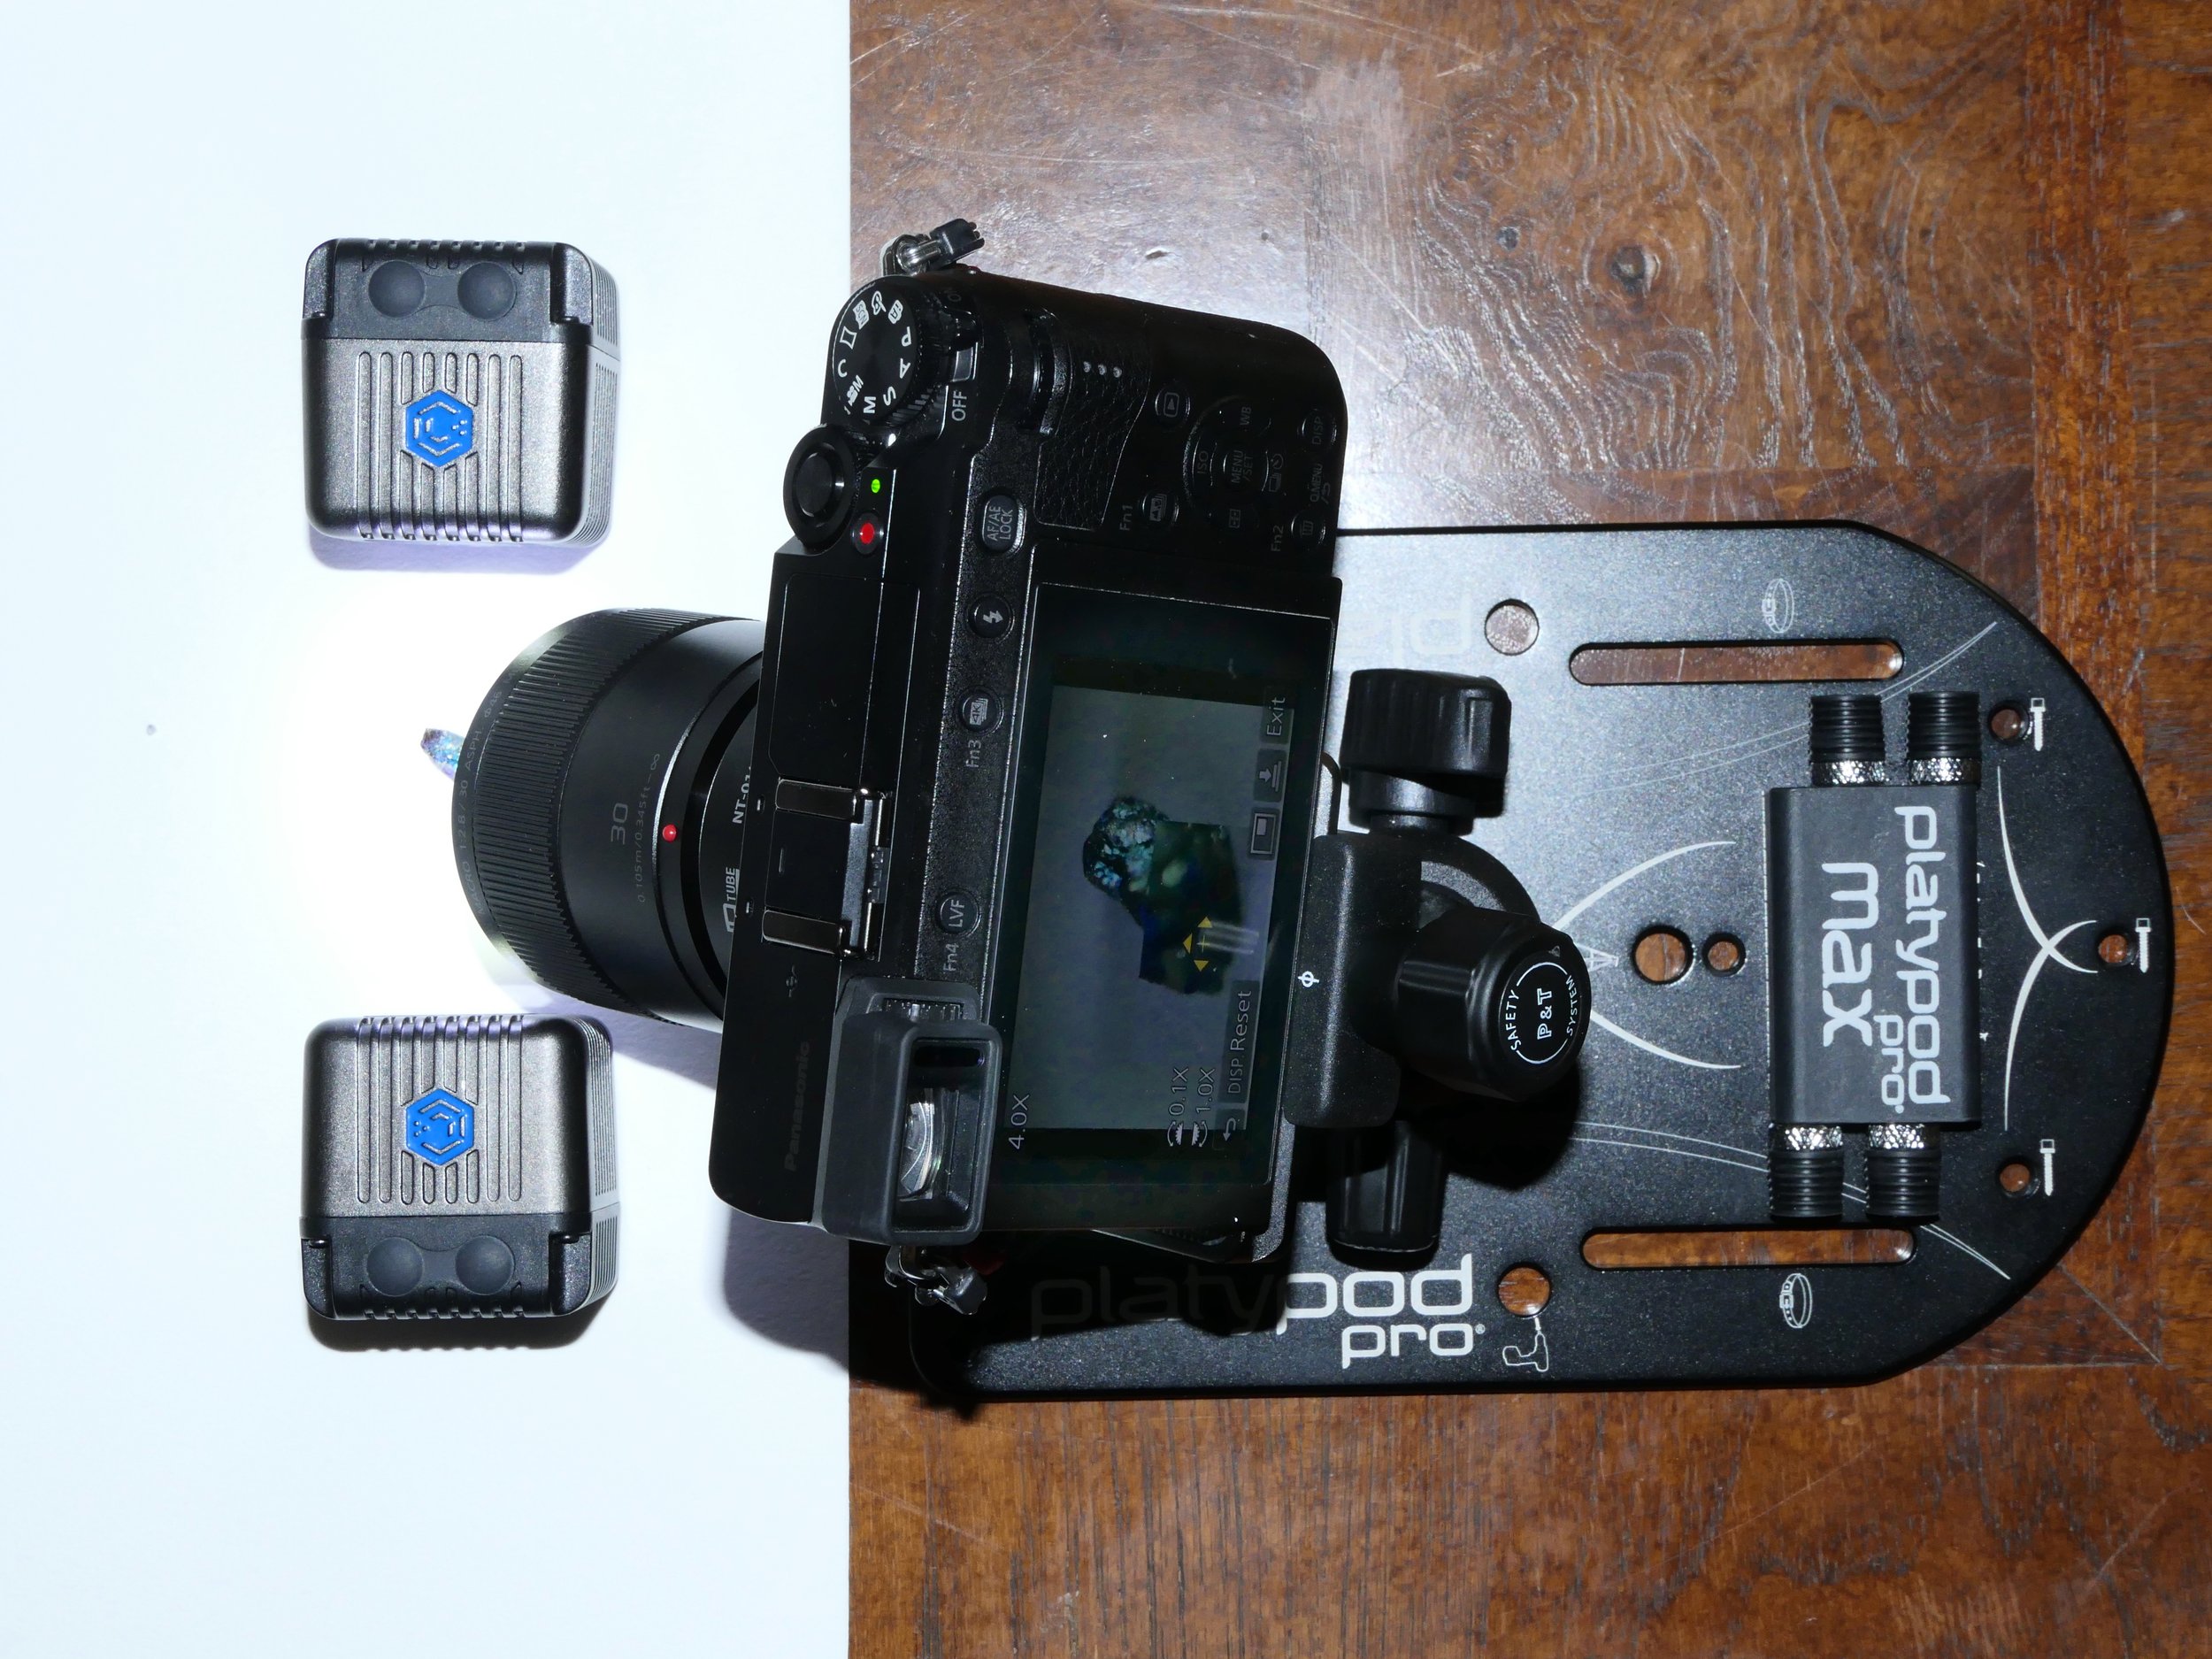
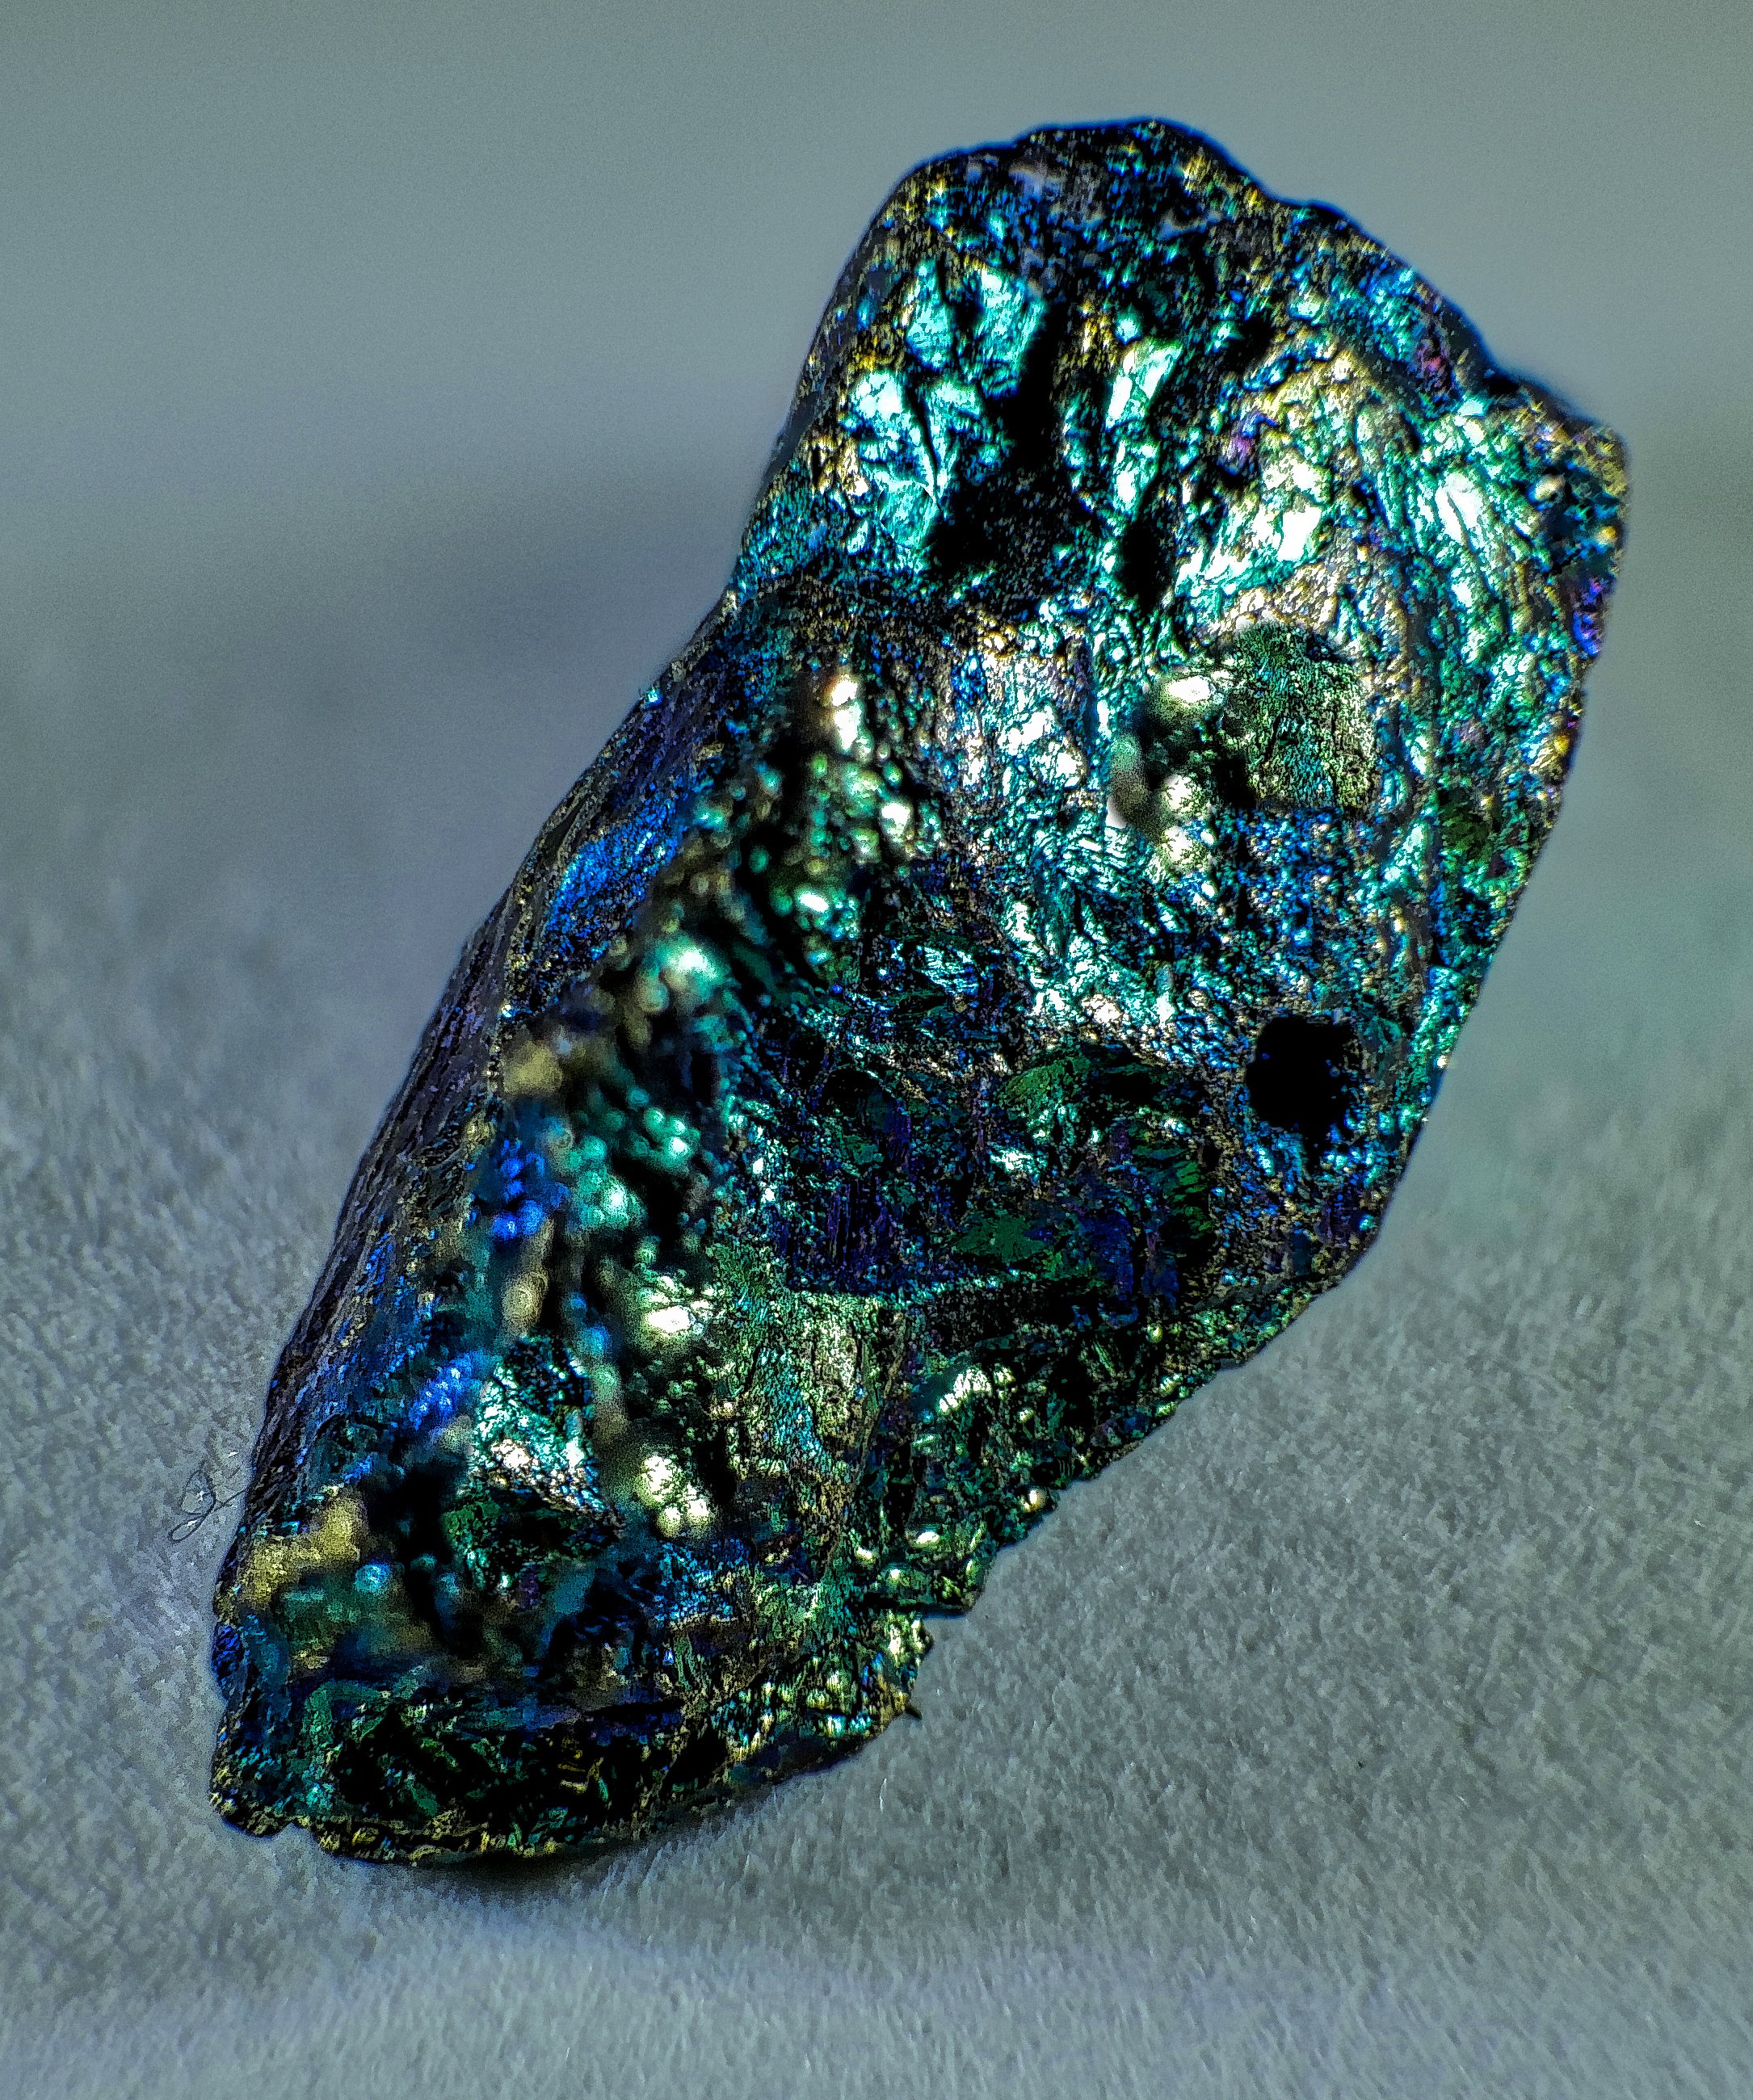
 Lume Cube for Macro/Close-up PhotographyThe Lume Cube produces a really hard light as it is a very small light, but also a very powerful one. The Lume Cubes were about 1.5 inches from the subject. Exposure triad: F/4, 1/800 sec., ISO 640. The lens was a 30mm macro with an extension tube. Camera: Panasonic Lumix GX85.The following is the setup:
 The image shown below is a 45 image stack using the GX85's focus bracketing feature.
 The portability of these little powerhouses has me convinced, and I tend to carry two in my bag at all times.CLICK HERE TO ORDER
Panasonic Lumix Post Focus Stack vs. Racked Focus Stacking
This comparison was done using the in camera "Post Focus" feature of the Lumix GX85 for one image and an automated focus rack of the same number of images (40 total) as RAW files. The "Post Focus" video was rendered into an image sequence using Photoshop and the output files were generated as TIFF. Both sequences were stacked using Helicon Focus using the Depth Map option for stacking. Each stack was saved as a TIFF file. The images were cropped to proportion and exported using Lightroom. Both stacks are excellent, further validating the viability of the "Post Focus" capability of Lumix cameras. The lens used was the Lumix H-HS030 30mm f/2.8 macro at f/4.0, ISO 200, 1/100 sec.Please click on the images for a larger view.

Panasonic GX85 with the Leica 100 - 400mm lens
I received my GX85 a few days ago but yesterday was the first opportunity to try it out. The GX85 with the Leica 100-400 is a superb combination. Both these images are considerable crops. There are two recently fledged Downy Woodpeckers, a male and a female who frequent the back yard. I am most impressed with the detail from the GX85 (no anti-aliassing filter) and excellent image stabilization.

